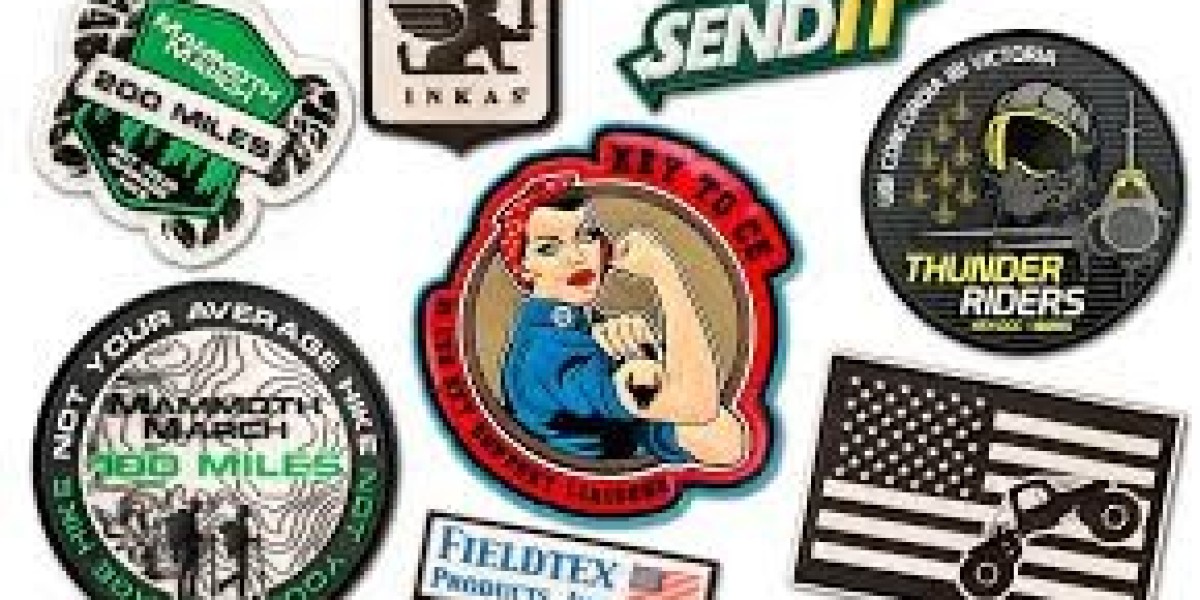
Custom patches are a fantastic way to showcase your creativity, add a personal touch to your clothing, or even promote a brand. Whether you want custom PVC patches, custom embroidery patches, or custom chain stitch patches, making them yourself can be an exciting and rewarding experience.
In this guide, we’ll take you through the step-by-step process of creating your own DIY embroidery patches. Plus, if you're looking for professional embroidery digitizing services in the USA, SBS Digit has you covered!
Why Create Your Own Custom Patches?
Custom patches are versatile and can be used for:
✅ Personalizing jackets, hats, and bags
✅ Branding uniforms or promotional items
✅ Creating unique gifts or collectibles
✅ Adding decorative elements to fashion designs
Types of Custom Patches
Before diving into the process, let's explore the different types of patches you can create:
1. Custom Embroidery Patches
These are made using a fabric base and embroidered thread to create designs. They are durable, stylish, and widely used on apparel.
2. Custom PVC Patches
Made from soft and flexible PVC, these patches are waterproof and long-lasting. They are great for outdoor gear and workwear.
3. Custom Chain Stitch Patches
This vintage-style patch uses a unique looping stitch technique to create textured and artistic designs. It’s perfect for achieving a handcrafted look.
Materials You Need for DIY Embroidery Patches
To make your own custom embroidery patches, you’ll need:
✔ Embroidery thread (various colors)
✔ Fabric (felt, twill, or cotton)
✔ Embroidery hoop
✔ Stabilizer (to prevent fabric stretching)
✔ Scissors
✔ Iron-on backing or adhesive
✔ Digital embroidery design (you can use SBS Digit's embroidery digitizing services in the USA for precision designs)
Step-by-Step Guide to Making DIY Custom Patches
Step 1: Choose Your Design
Start by sketching or selecting a design for your patch. If you're using an embroidery machine, you'll need a digitized file. SBS Digit specializes in high-quality embroidery digitizing services in the USA to turn your design into a stitch-ready format.
Step 2: Select the Right Fabric
Choose a durable fabric that matches your desired patch style. Twill and felt work great for custom embroidery patches, while synthetic materials are ideal for custom PVC patches.
Step 3: Stabilize Your Fabric
Attach a stabilizer to the fabric’s backside to prevent stretching and distortion while stitching.
Step 4: Embroider the Design
If using a machine, load the digitized design and start stitching. For custom chain stitch patches, use a chain stitch embroidery machine or hand stitch the design for a vintage look.
Step 5: Cut the Patch
Once embroidery is complete, carefully cut around the patch, leaving a small fabric border if needed.
Step 6: Apply Backing
To make your patch easy to attach, add an iron-on adhesive or Velcro backing. Custom PVC patches often come with hook-and-loop backing for easy application.
Step 7: Attach Your Patch
Now, you can sew, iron, or stick your patch onto your desired item. Your custom patch is ready to show off!
Where to Get Professional Embroidery Digitizing Services?
If you want a high-quality design but don’t have an embroidery machine, SBS Digit offers expert embroidery digitizing services in the USA. Their precision ensures clean, professional results for custom embroidery patches, custom PVC patches, and custom chain stitch patches.
Final Thoughts
Making DIY custom patches is a fun and creative way to add a personal touch to your belongings. Whether you're making patches for fashion, branding, or gifts, this guide has you covered! And if you need professional help, SBS Digit is your go-to source for premium embroidery digitizing services in the USA.
➡ Ready to create your own custom patches? Contact SBS Digit today! ?✨